In this tutorial it will be shown how to use the Optimizer to solve a complex 5-axis continuous toolpath using an ABB IRB2600-1.85-12 robot and the WeldGun tool, see the screenshot below:
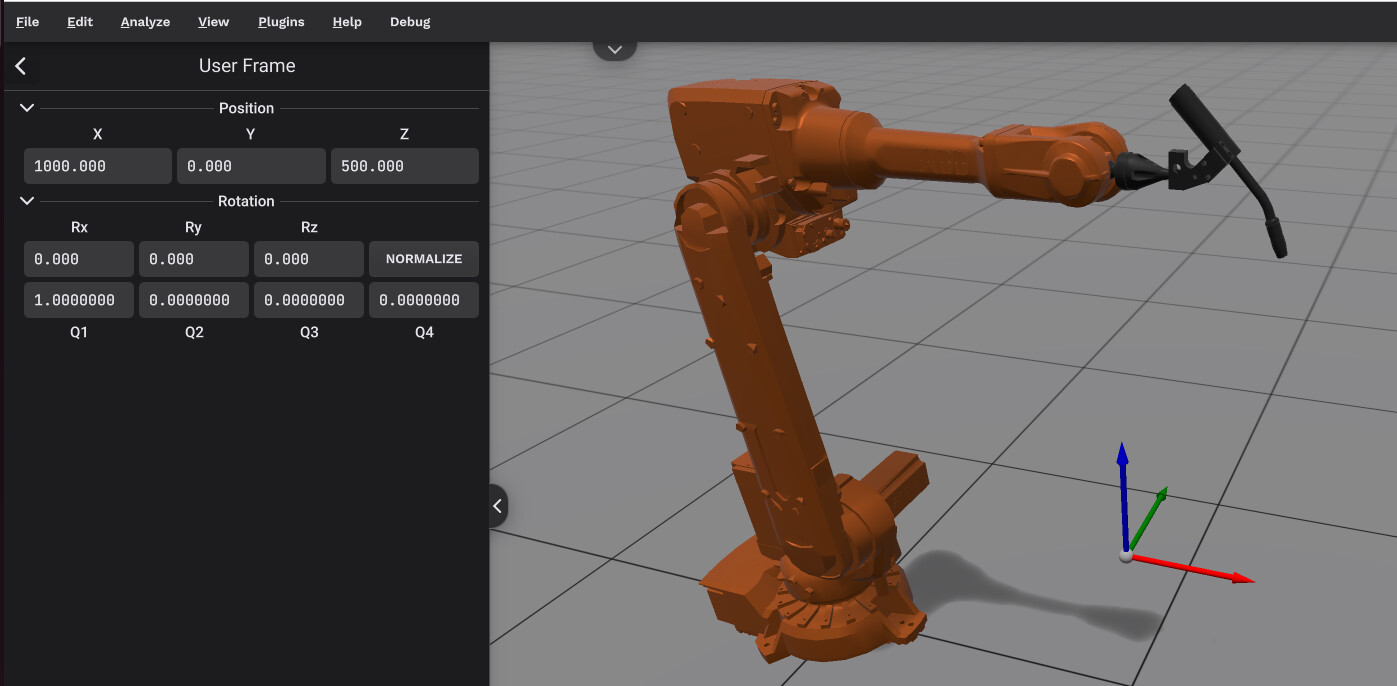
Define the User Frame at location X=1000, Y=0 and Z=500 as shown.
The toolpath consists of two APT files, Merge-1.apt and Merge-2.apt, available in the ZIP file made available at the bottom of this page.
Download and unzip toolpath.zip, then Import Merge-1.apt into IRBCAM. If you try to solve this toolpath, you will not be able to find any tool roll angle which works, with any of the modes (Fixed Angle, Fixed Angle + Deviation or Dynamic Mode). In cases like this, the Optimizer function can be very handy.
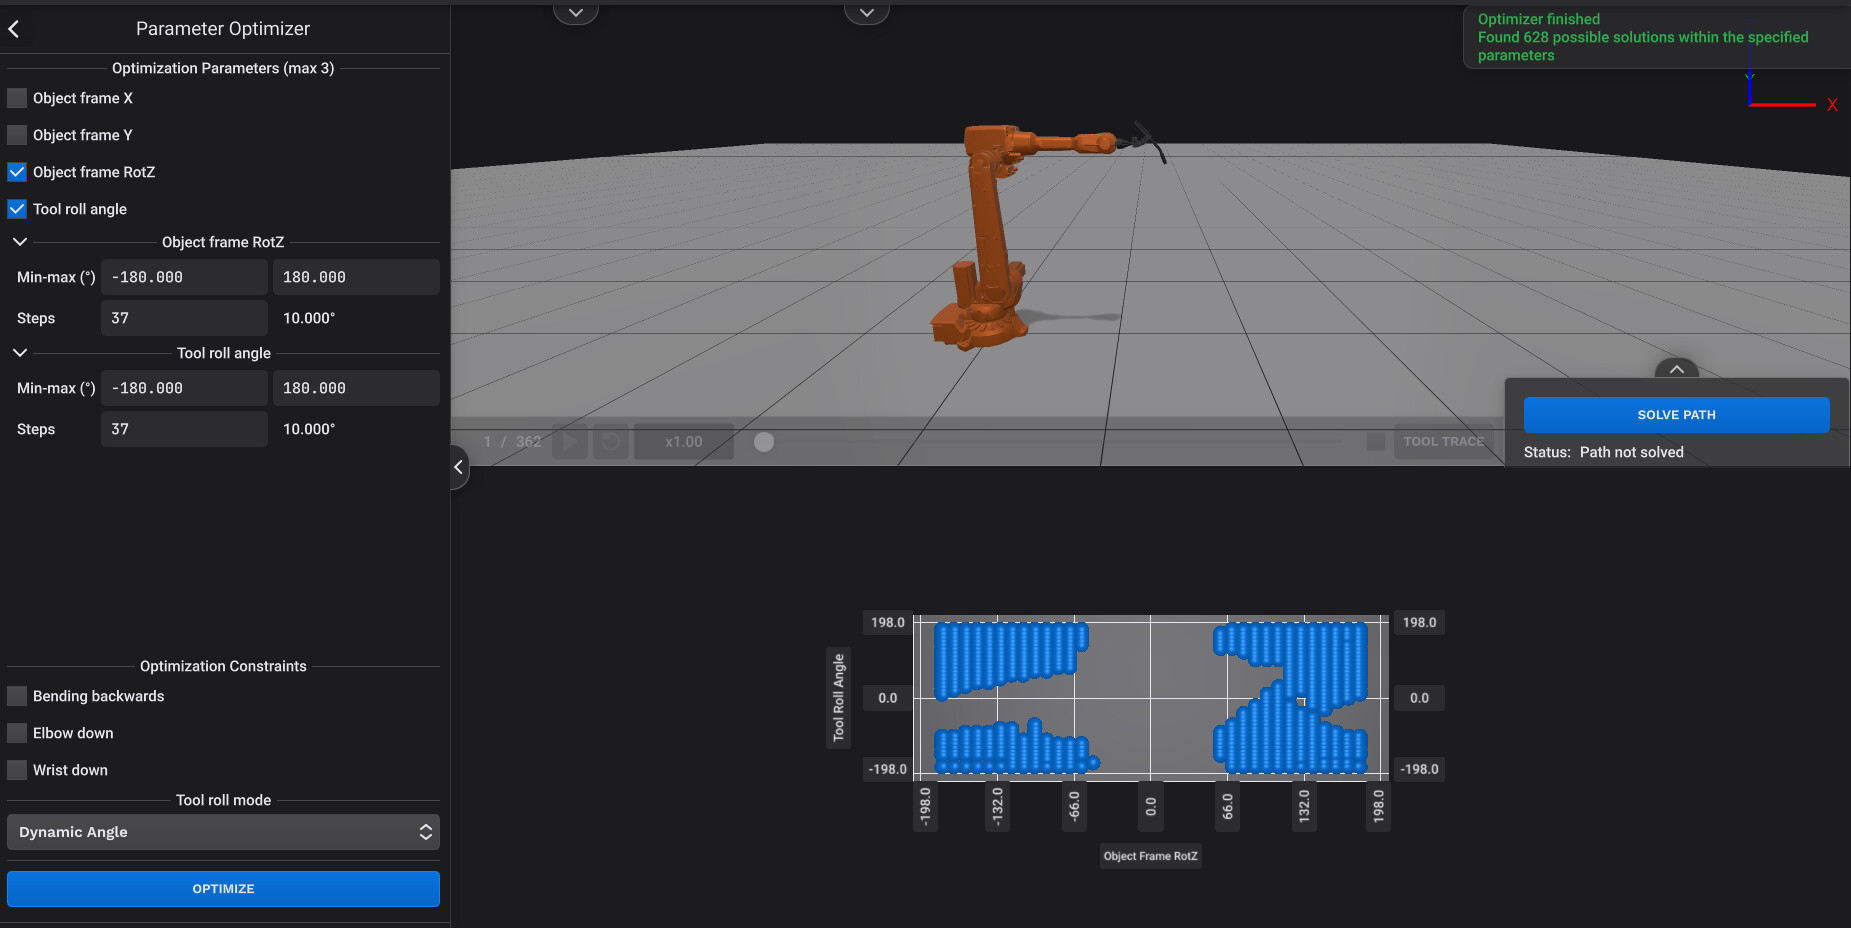
In the screenshot above, Analyze - Optimizer has been selected from the main menu. It has been decided to optimize the parameters Object Frame RotZ and Tool Roll Angle. The variable which you click on first appears on the X-axis in the plot, while the variable which you click on second appears on the Y-axis. The default parameters were used and Tool Roll Mode = Dynamic Angle was selected. Click on OPTIMIZE and wait a few seconds for IRBCAM to evaluate the combinations of these two parameters. With the default settings, there is a step size of 10 degrees in both parameters (37 steps for each from -180 deg to +180 deg).
The result is shown at the bottom right in the screenshot above. A 2D plot is shown with Tool Roll Angle on the X-axis and Object Frame RotZ on the Y-axis. The blue dots in this 2D plot mark successful sets of parameters. By clicking on one of the dots, a solution is selected and can be copied to the path solver.
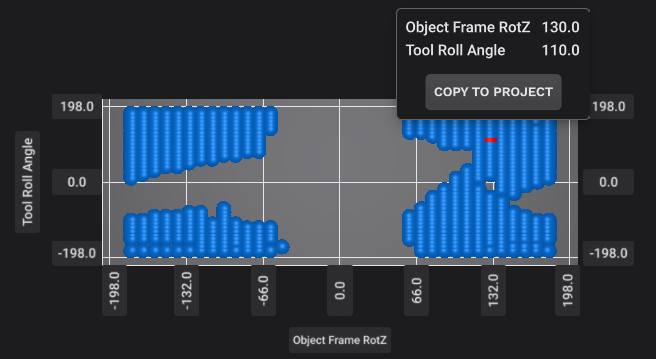
The screenshot above shows a red dot representing the solution where the Tool Roll Angle = 110 deg and the Object Frame RotZ = 130 deg. Click on “COPY TO PROJECT” to copy this set of values to the path solver. Go to SOLVE PATH and make sure that the same Tool Roll Mode as in the OPTIMIZER is used and you will see that the path solves successfully.
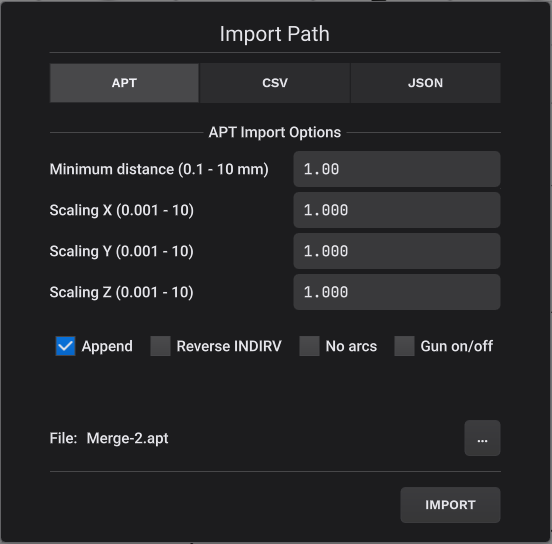
To make things a bit more complicated, the APT file Merge-2.apt can be appended to the existing toolpath as shown in the screenshot below. Make sure that the Append checkbox is selected.
With complicated 5-axis toolpaths, it can sometimes help to verify that it is possible to solve a smaller section of the path first, before appending additional sections.
In practice, you cannot select any of the presented possible solutions (blue dots) at random. For example, the rotation of the object frame RotZ should be selected in such a way that it is possible to mount your part with such a rotation in your physical setup. From this perspective, is is probably easier to select RotZ angles like 45, 90 or 135 degrees compared to other values. In order to get steps of 5 degrees, the default settings in the Optimizer must be modified. It is also advisable to load a custom geometry CAD file of your part which you want to weld or machine into the project. Then check carefully using the 3D graphics that there will be no collisions between the robot, the tool (in this case the weldgun) and your part.
A video of the final simulated 5-axis continuous toolpath solved with use of the Optimizer function is shown below.
toolpath.zip (15.4 KB)